Wednesday, September 21, 2022

Busy in 2022 making Quilts!

So far this year, I have completed quite a number of projects. The photos below give an indication of what I have been doing.

For more detail, pop over to the Patchwork and Quilting page on this blog.


I still have about 5 more quilt tops to quilt before Christmas so I will be quite busy!

Saturday, August 28, 2021

Early start to Christmas Cards

 Since we are back in lockdown keeping safe from Covid, I decided to start making Christmas Cards.

I bought some card designs from Dreaming Tree and am loving the ease with which they go together.


The blue one was the first I made. It has 4 layers. For the cream one, I embossed the cream layer with a plaid embossing folder  after cutting and I really liked the extra dimension it gave.

Now I need to make the other designs that I bought! 

Monday, August 2, 2021

Circle, Circles and more Circles!

 This week's creative cardmaking class will have a theme of Circles. 

I needed some inspiration and went to Pinterest to get some. I found some amazing cards using circles and the ones I was inspired by, were some of the nicest.

I used Cricut Design Space to design the cards and to cut them as I would have taken all day to cut each of the circles and other shapes. The Design Space file can be found here.

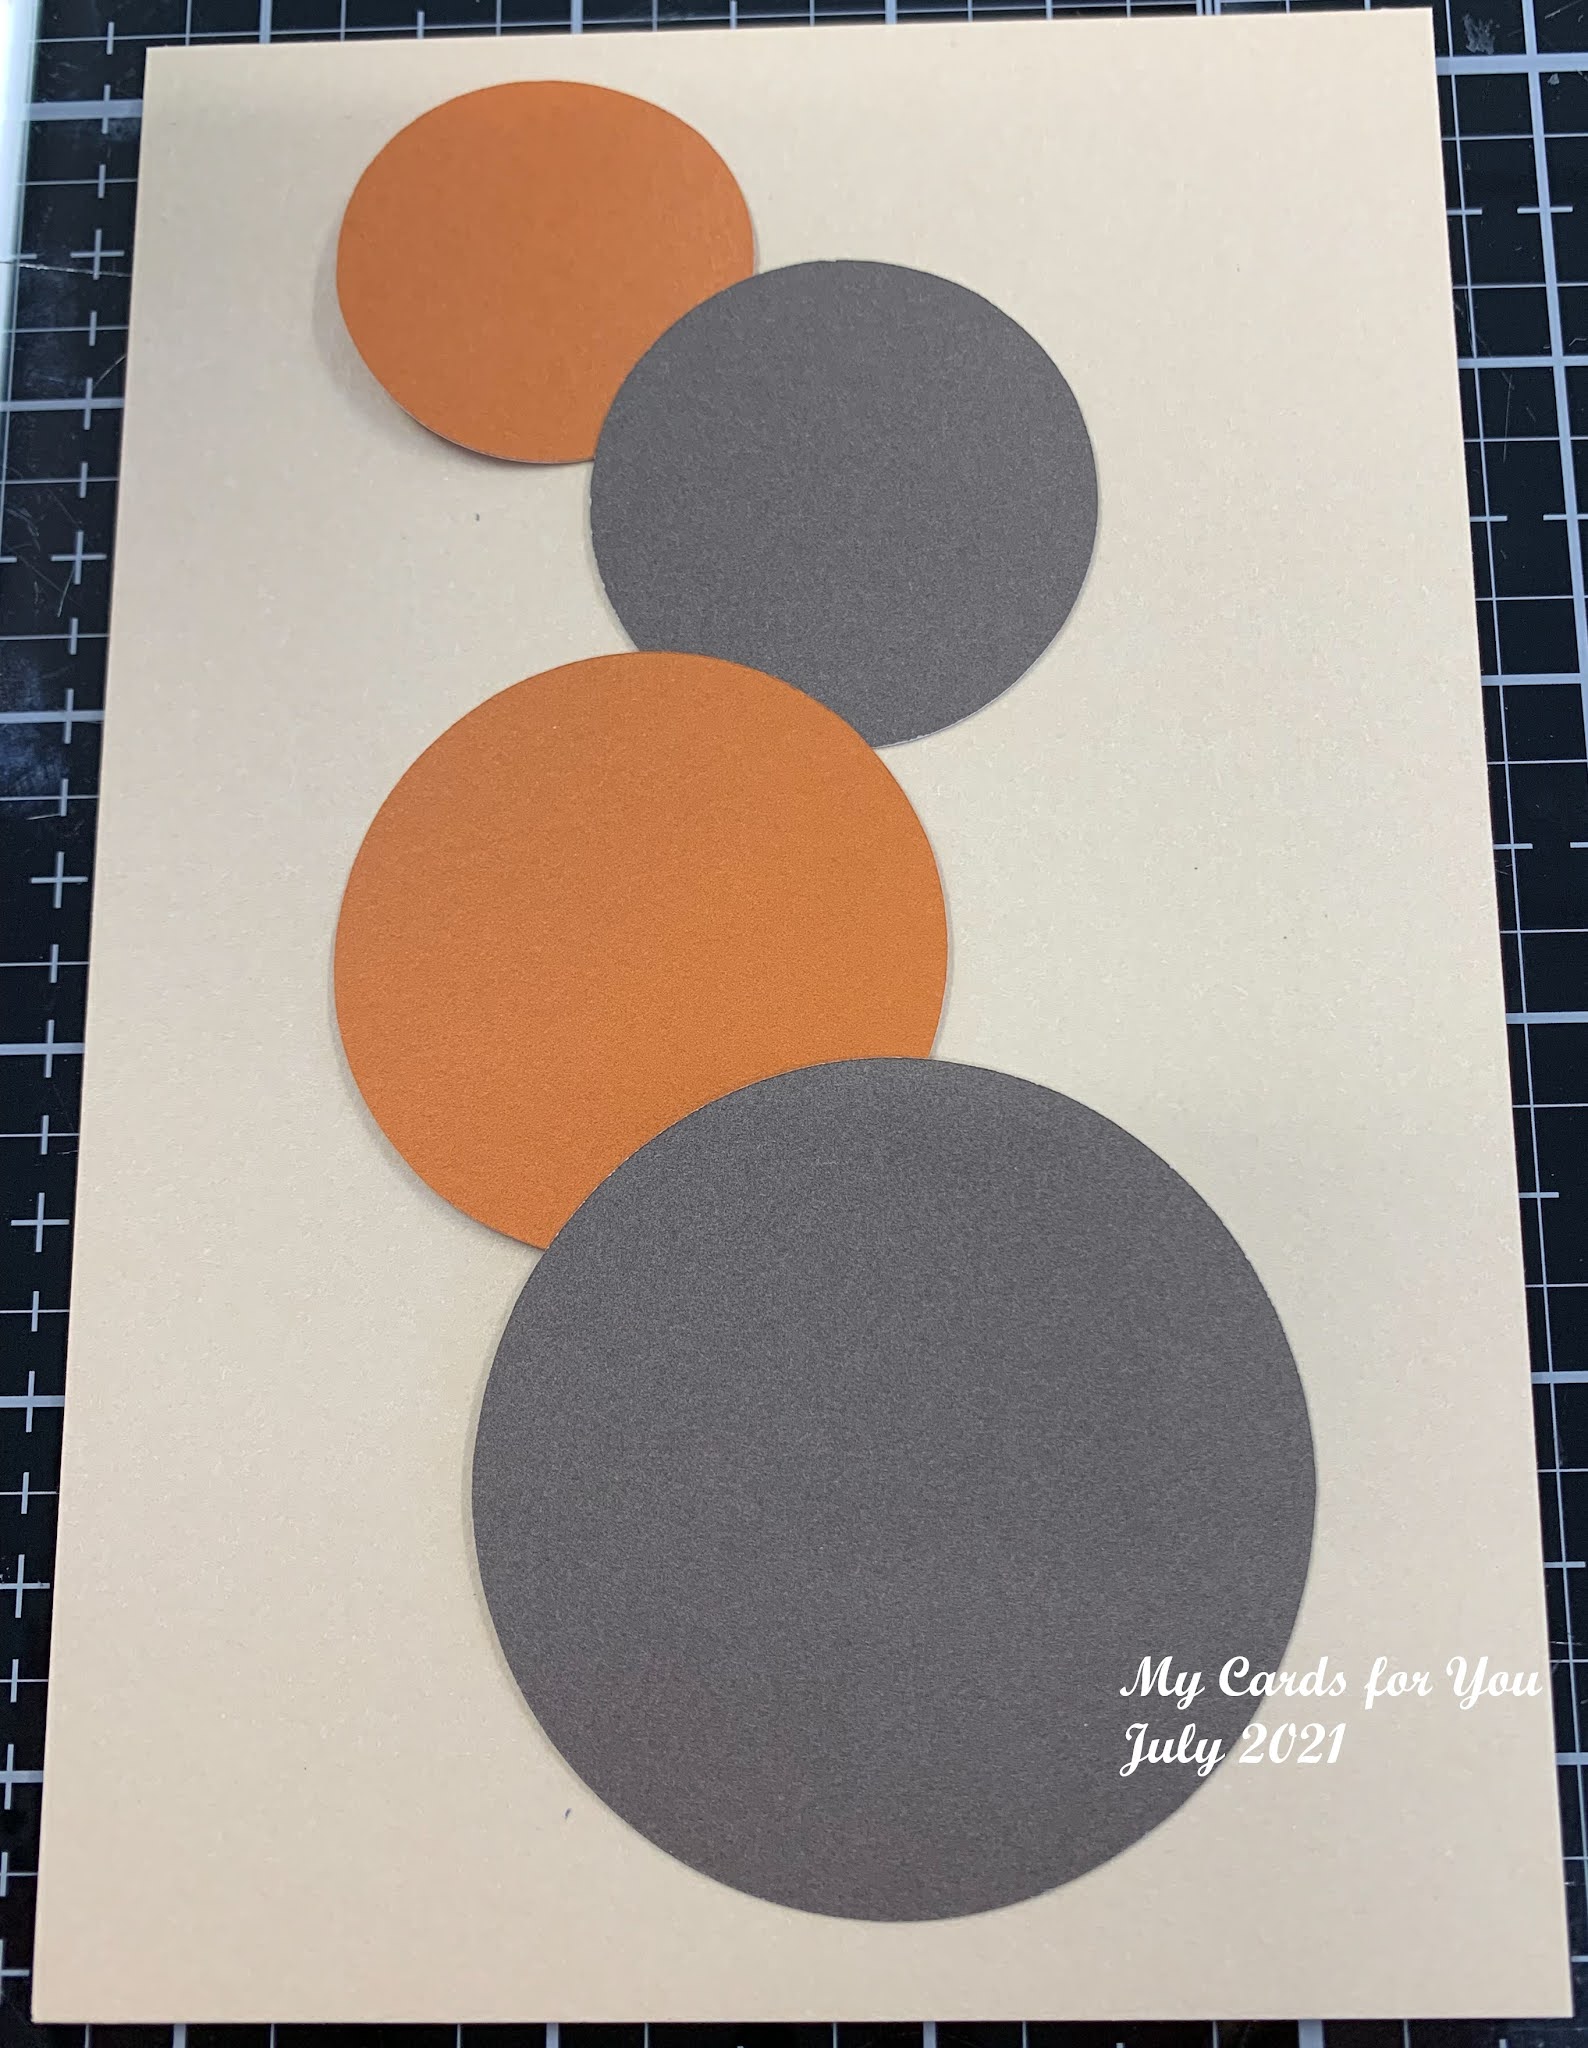
The first card is stamped then circles added. The step by step process is as follows:

1. Stamp the circles on a tent fold card. I used my Misti

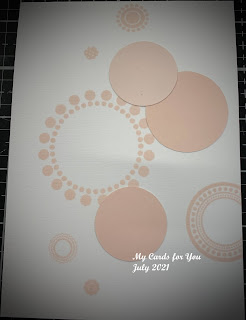
stamping platform to arrange the circle stamps then stamped them all at the same time. Using the stamping platform enables multiple passes of the stamp if the colour is not deep enough. 

2. Lay the circles out on the card to find the most pleasing arrangement.

3. Apply glue to the back of the circles and glue in place.


4. Stamp the greeting onto the large circle and apply glue to the back of it. You could also use foam tape to add some dimension.


5. Add sticky pearls or other dimensional elements to complete the card.


This is a reasonably simple card to make and does not take very long to put together. 

I used Close to my Heart stamps from various sets, CTMH cardstock for the circles - Bashful. The ink colour was Bashful and I stamped it several times to get a deeper colour. 


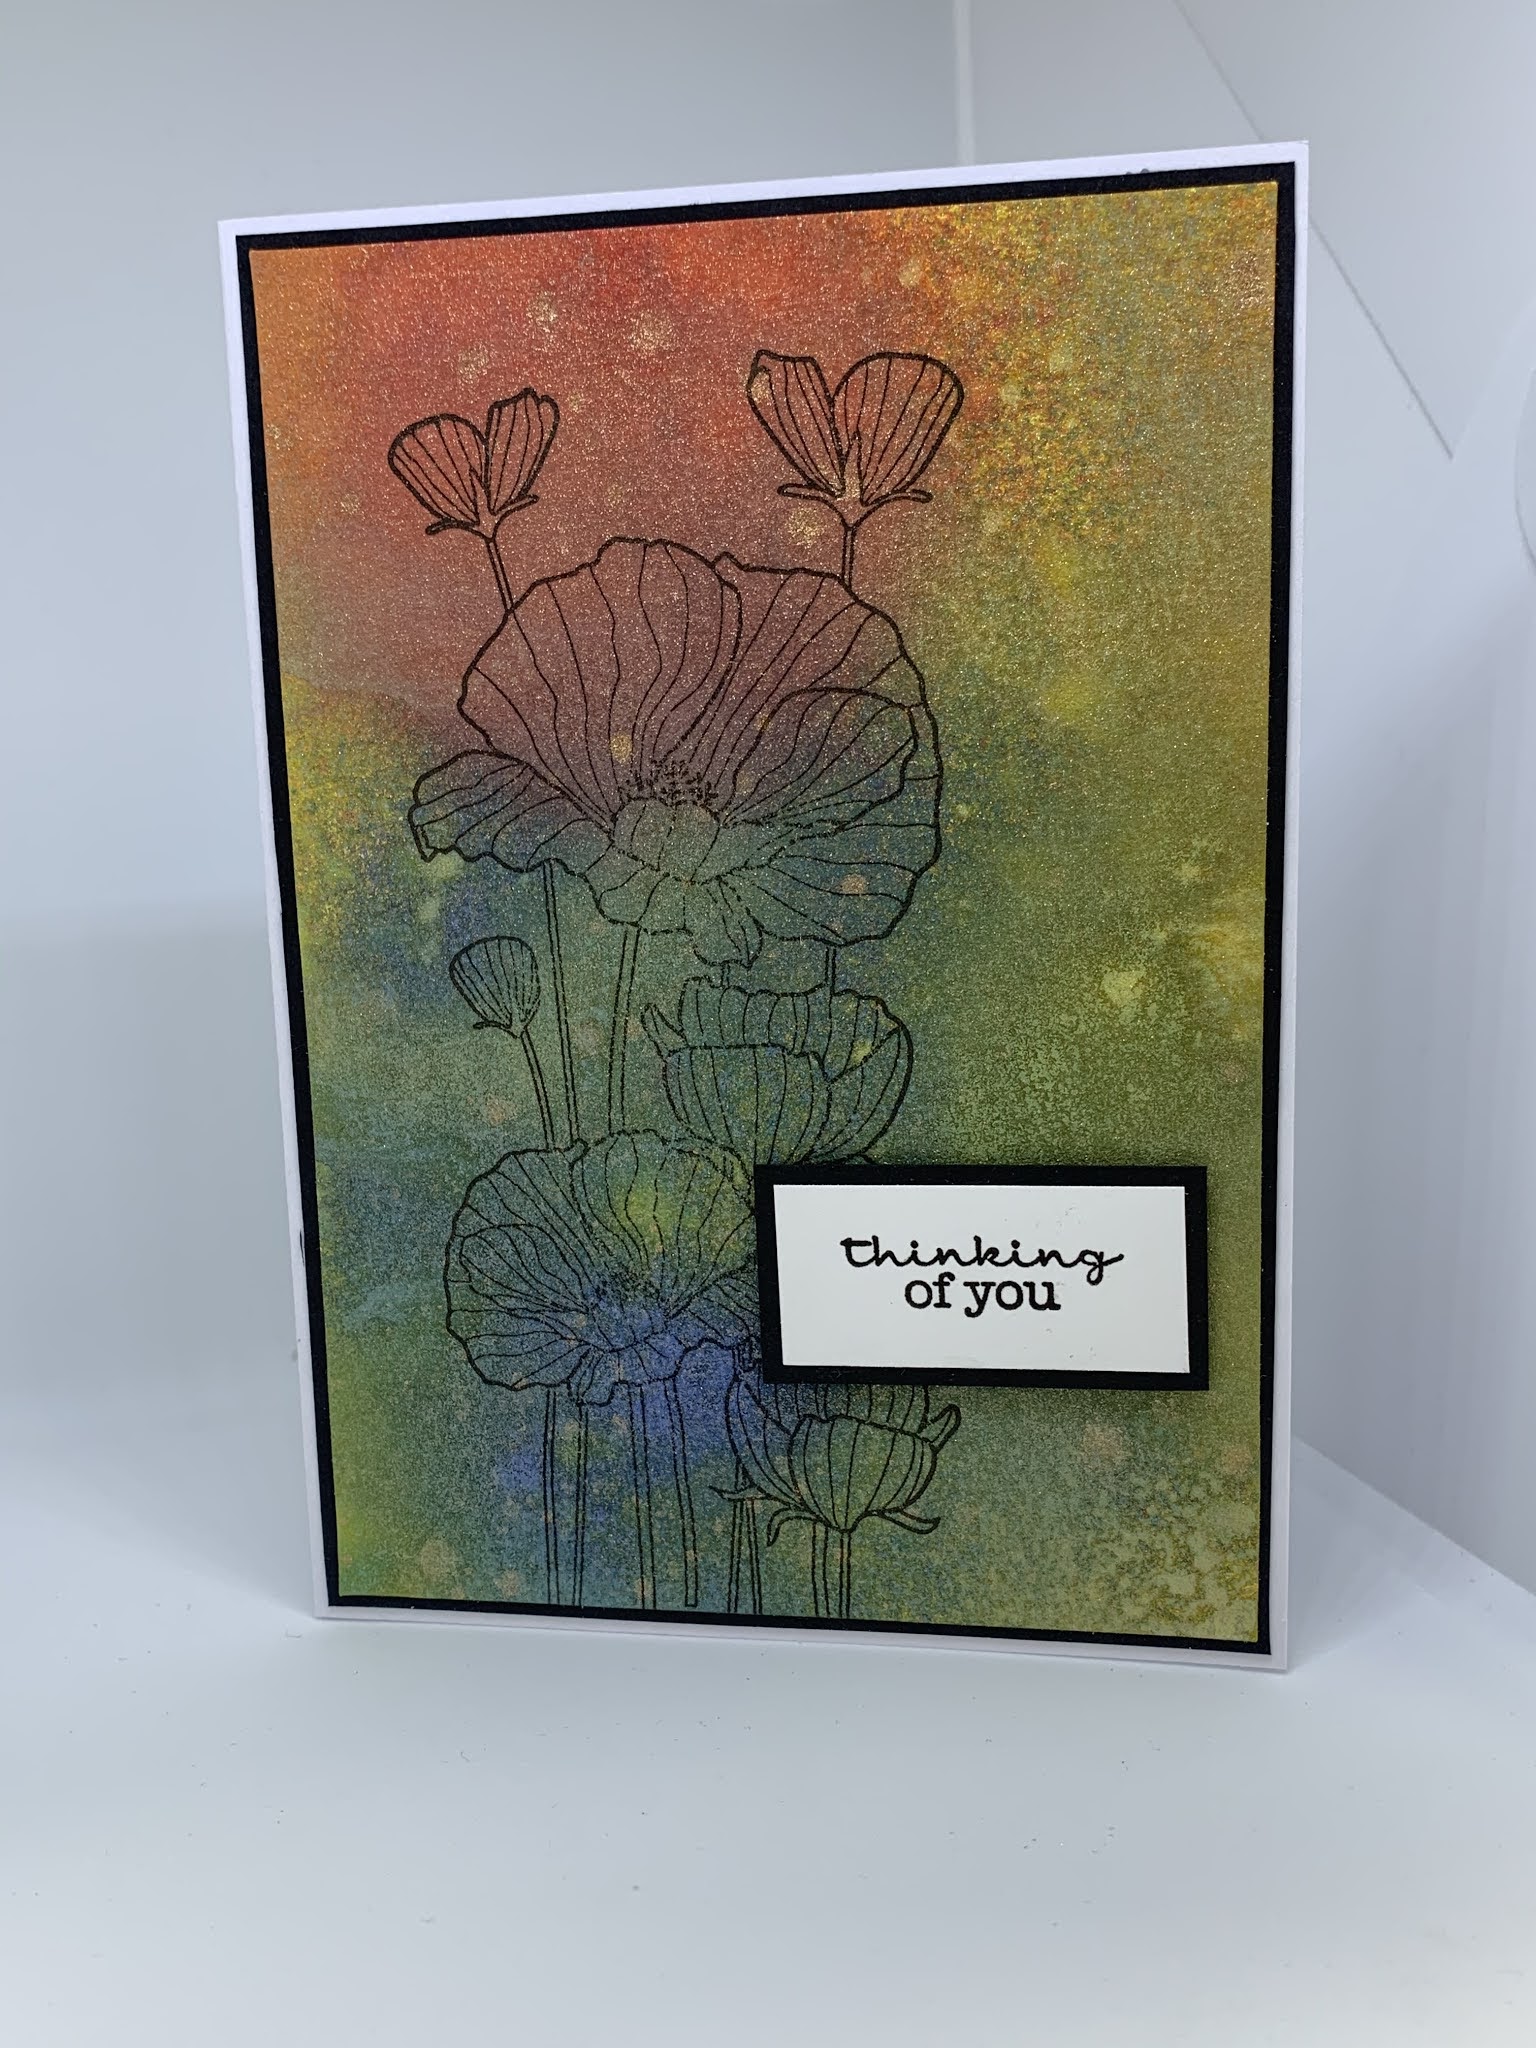
The second card involves attaching circles onto card them embossing the card.

1. Lay the circles onto the card layer in an arrangement that pleases you. 


. When you like the arrangement, apply glue to the back of the circle. Make sure it is covered well, but not so much it will ooze from the sides when attached. Glue is preferable to DS tape as it will soak into the card a little and get a better result when it has been embossed.


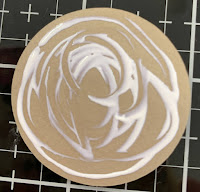
Cover circle well with glue


2. Place the card into the desired embossing folder making sure it fits from side to side. It may not fit the length, but that will be solved in the next step. Give the card a light misting of water to soften the card and to prevent the card from cracking when it has been embossed. Run through your embossing machine up to about 2/3rds of the way down the card.

Remove from the embossing folder and it will look a bit like this. 

Turn the card around so the unembossed part is at the top of the folder. Carefully align the embossed part of the card with the embossing folder so the pattern will be repeated. You can place some washi tape on the card to keep it in place in the folder.

Run the embossing folder through the machine again, but stop before you get to the end of the folder, as before. This will stop getting a line across the pattern.

NOTE: You can only do this process with an embossing folder that has a repeating pattern and is non-directional.

3. Allow the card to dry completely or give it a bit of heat from a heat tool to dry it quickly. If the card bends a little, place it under a heavy book or other weight so it will be flat when you glue it to the base card. 

4. Glue the card to the A2 side folded base card and allow to dry. DS tape can be used, but will not stick well if the layer is still a little damp.


5. Stamp the greeting on the large circle then attach this to the bigger layer. Add foam tape if desired and attach to the card. 


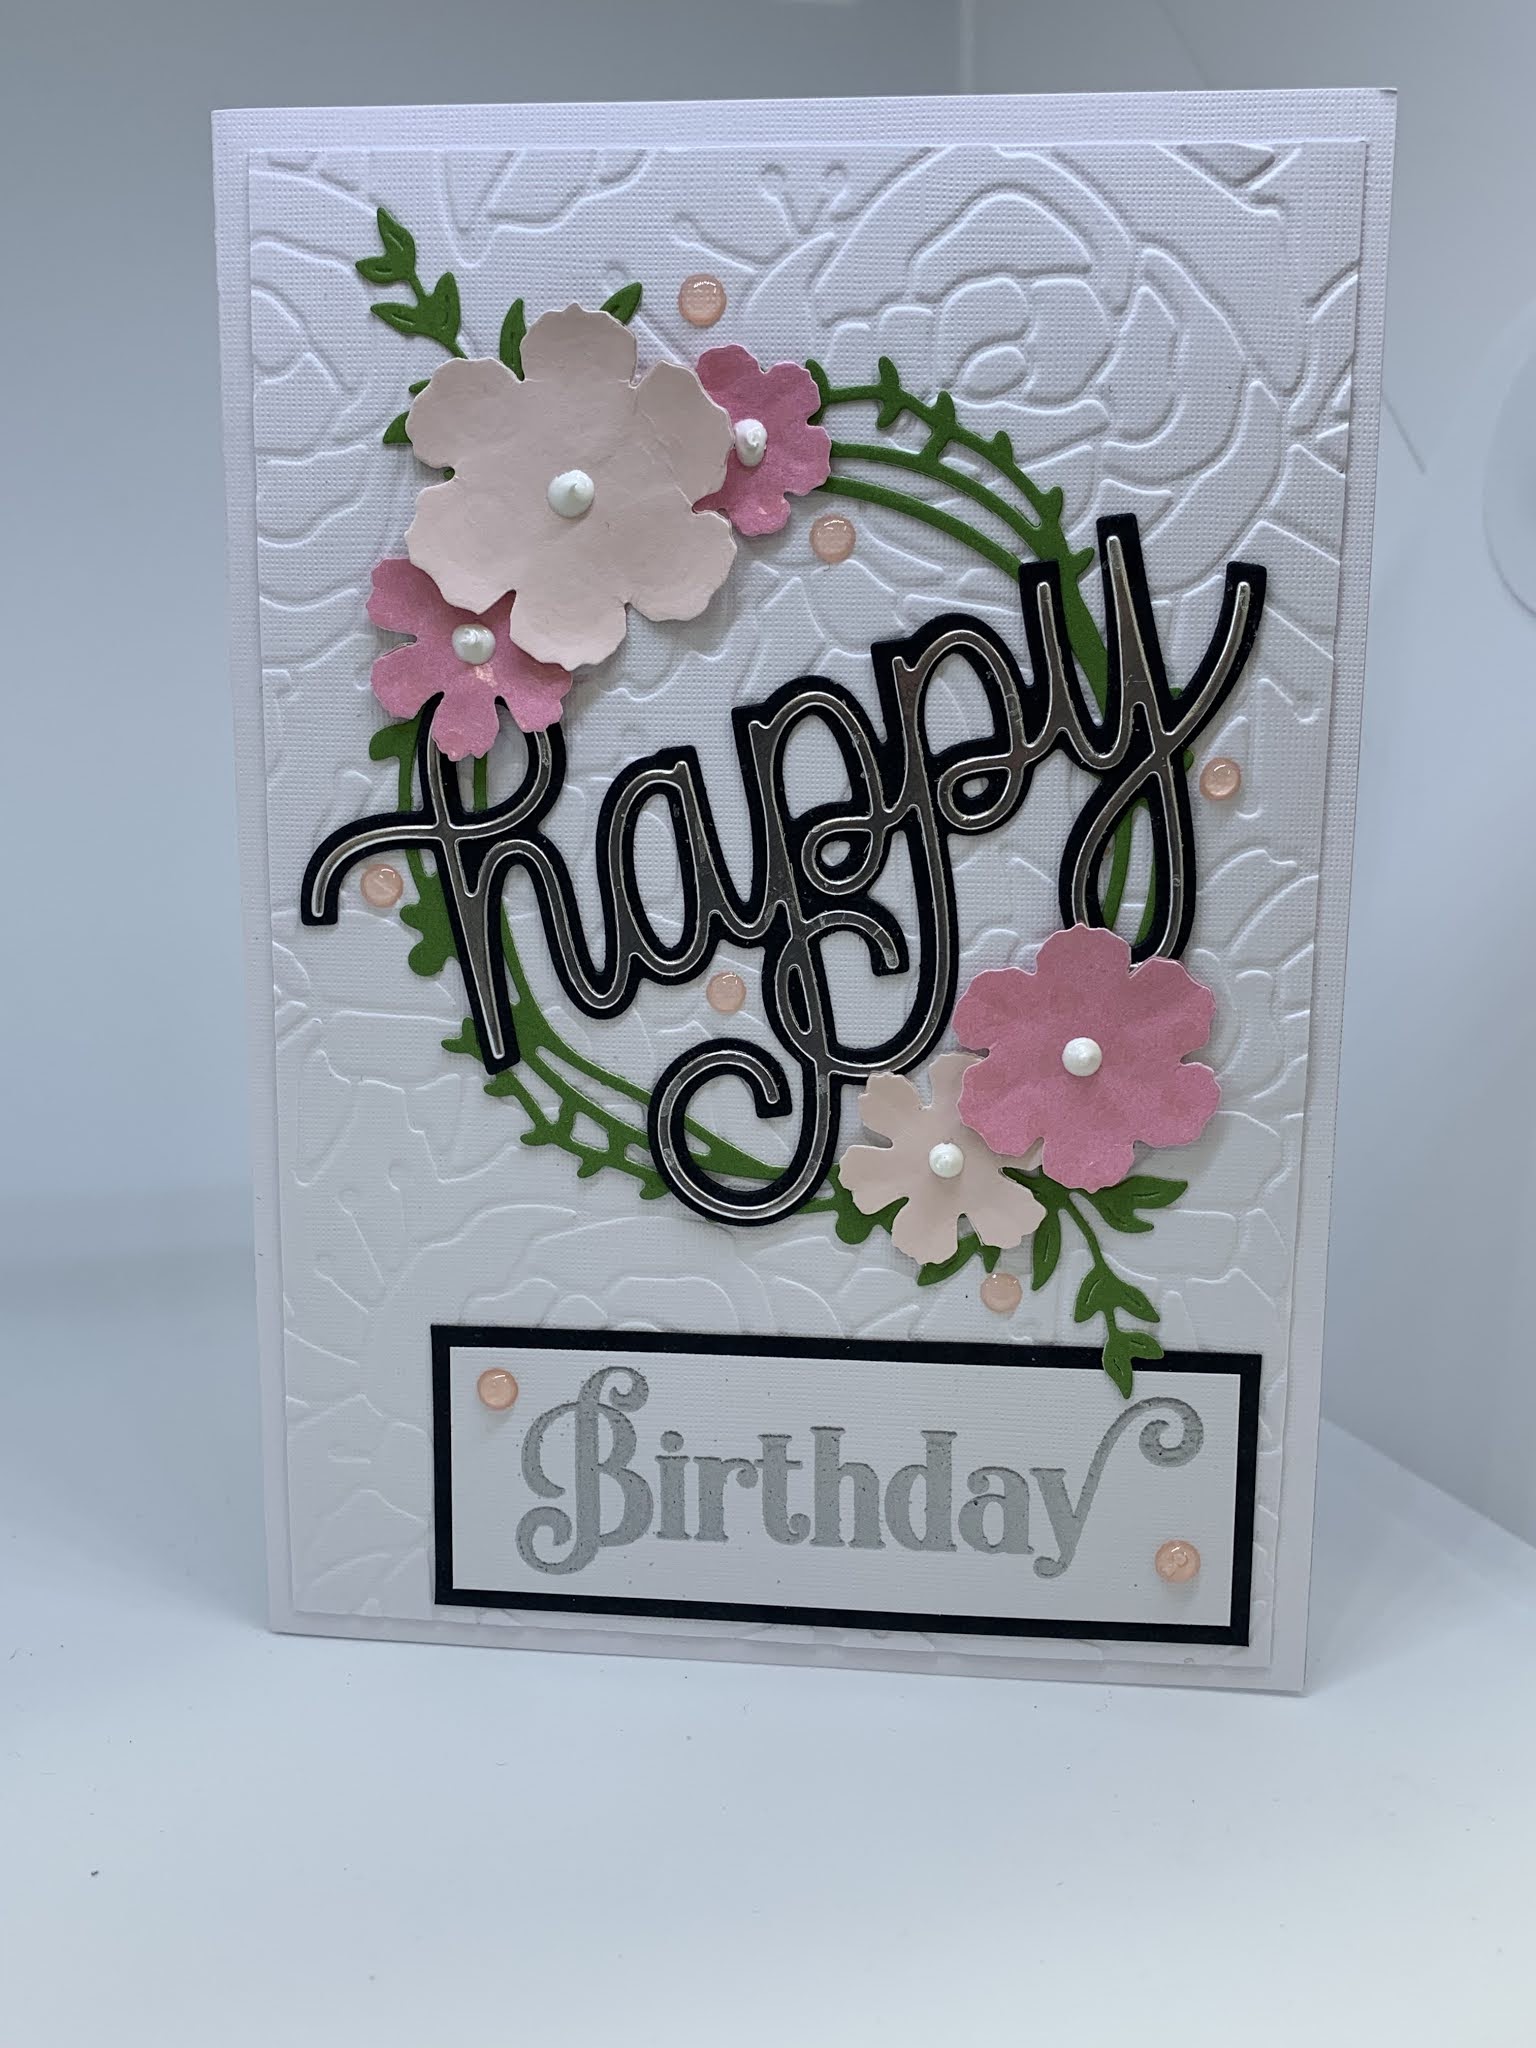
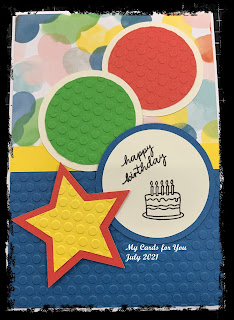
 The third card has more pieces but it relatively easy to put together.

1. Select the smaller coloured circles and the smaller star and run through the embossing folder of your choice. You can also emboss the bottom piece of the top if desired. 


2. When the embossing is complete, attach the embossed pieces to their corresponding bottom layers. Again, glue may be better than DS tape as it will attach around the embossed parts better. (See below)


3. Layer the three top layer pieces onto the base card. Do not attach until you are happy with the placement of each piece. 

4. Stamp the greeting on the larger circle and attach it to its shadow layer.

5. Arrange the elements on the card then glue in place when you are happy with the arrangement. Use foam tape for some if desired. 


Have fun making these cards!

Wednesday, July 21, 2021

Patchwork and Quilting Projects this year

 I have to admit that I have been more focussed on my patchwork and quilting projects over the last couple of years. I am enjoying the creativity of patchwork and have learned a lot since I began about 4 years ago.

This month, out group has had a Red Black and White challenge. We had to make something using the three colours. While I have made a larger sized quilt with these colours, I have not completely finished it yet. It does need to be quilted and bound so a trip to the quilters is needed soon!

I did, however, manage to complete a couple of smaller quilts which I have pictured below. Both have come from books or magazines I have found, but the details of the "Baskets" quilt were adapted to suit. Both are smaller wall hanging quilts and will go up in my craft room when I have made space for them on the walls. 


The Whirligig quilt was made from scraps left from the large quilt (yet to be finished)!


I recently finished this quilt. It is a single bed sized quilt and made from about 12 fat quarters. It was fun putting it all together. The blocks are based on a sort of log cabin design but with random colours and a variety of widths of strips. 

I quilted this on my Elna sewing machine.


Tuesday, July 20, 2021

Card Class in July


 The first Wednesday each month is my Creative Card making class at the local library. We are so lucky having a library that is very community focussed and offers the opportunity for people to learn lots of new skills. So when I got the opportunity to take classes in card making at the library, I jumped at the chance. 

A group of 7 to 10 ladies comes along each month to make cards and they always go home with at least 3 cards (if we are not making cards for charity) and lots of ideas for making cards at home.

This month, we made cards for men and boys. Masculine cards always seem to be the ones that many people have problems with.


These are some of the cards made by the ladies this month.

Key tips for Masculine Cards:

  • Choose colours that are most suitable for men and boys - blues, greens and browns are always good tones to think about.
  • Keep the design reasonably simple.
  • Look for background papers that have abstract designs, nature designs or themes such as fishing, sailing, hunting hiking etc.
  • Use die cuts appropriate for men
  • Use designs you may have used for other cards, but change the design by using the different papers and colours. 
Hope these tips might help you with your own masculine cards!

Saturday, June 19, 2021

Some new cards

 Yes, I still make some cards and do some classes, but patchwork also takes a lot of my time!

Here are some recent makes!

Our grandson, Max had his 5th birthday recently so I made this card for him.


I used a CTMH stamp set and die cut several of the stamps. The card is a triple pull up card, with the centre part of the card pulling two different hidden panels up. The greeting is on the back of the card.


I used silver embossing on the background of the card and the stars on the front.


One of our neighbours celebrated her 80th birthday recently so I made her this card. 

The flowers were stamped and cut with a stamp/die set from Stampin' Up - Art Gallery. The stamp set includes two layers for each flower stamp so I used a light and dark shade for each flower. I cut an oval in the front of the card and backed it with Julep card (CTMH) and inserted a gold striped acetate with some small beads as a shaker element. 

The sentiment was gold embossed.


A delightful couple we have got to know since we moved to Lincoln recently celebrated their 65th Wedding Anniversary - a remarkable achievement.

I used a Cascade card svg from Dreaming Tree to make this card. I used cream cardstock and gold glitter cardstock for some of the detail cuts. 

This is one of my favourite designs for very special cards!

Monday, March 1, 2021

 Here it is, 1 March and this is the second post for this year. So much for good intentions!

It has been quite a busy year with child-minding during the school holidays and each week since schools returned.  A trip away to the south of the South Island  for a few days - thank goodness we are still able to travel within our own country during this challenging time. However, I can say that I have been making things during this time.

I have been making a few quilty things and decided recently not to begin anything new until I have completed the things that are waiting to be finished. 

 I made a couple of quilts for Christmas presents - a full sized quilt for my daughter-in-law and a wall hanging for my grandson, Max. He is always admiring a Lone Star wall hanging I have in my bedroom so I made one for him to hang on his wall.  I shall post them on my Quilting Projects page. 

Card making has taken a second place over the last couple of years as I have become more involved with patchwork. However, I still enjoy making some cards and still take a card making class monthly at the local library. 

Here is a selection of recent cards.

 This was a birthday card for my husband. I used CTMH papers and die cut the leaves and coloured them with distress oxide inks, with a final coating of UTEE (clear).


These two cars were made using distress oxide inks with multiple layers of colours and spritzed with water. Overstamped with Poppy stamp. 


This card was made with die cut flowers, leaves and wreath. I embossed the background with a CTMH embossing folder. I die cut the two layers of the Happy greeting and stamped the birthday. I used Nuvo drops for the centres of the flowers and the dots on the card.

More next week! Stay well and stay safe!